Export Data
The Export function in myData is similar to the Import function. To export data follow the steps below:
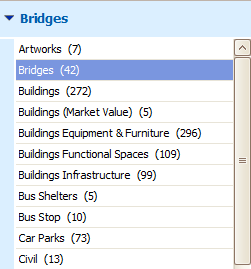
Step 1: Select the Asset Category to be exported. Select any asset in that Category or select the Category itself.
This example exports Roads data:
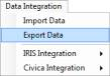
Step 2: Select Export Data from the Data Integration menu:
- The following screen will appear once Export Data is selected:
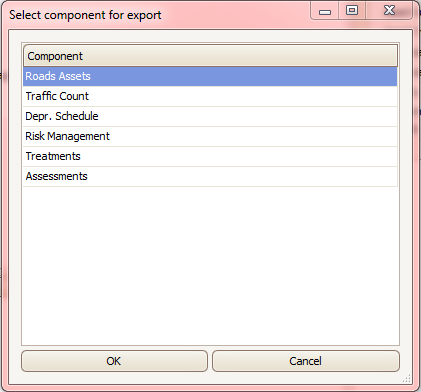
- Select the component of the asset category to which data is to be exported and select OK.
This example exports basic data (Roads Assets).
Other options available to export data are Risk Management, Treatments and Assessments.
Step 3: Export Wizard
- After clicking OK the following wizard screen will appear. The wizard will guide Exporting Data:
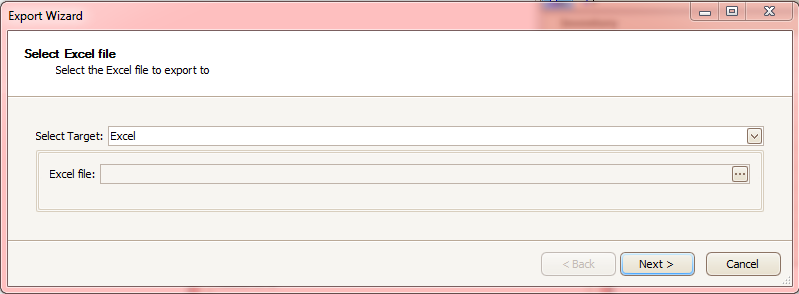
- User should select the target file type to which the data will be exported.
Data can be exported to the following target files (by default system will select Excel):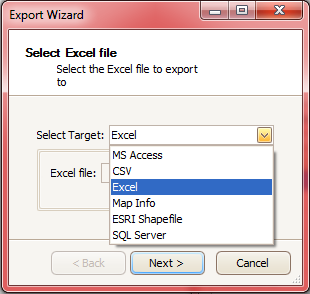
- Next, click
 to create the Excel file. The wizard will prompt to a select a file location.
Give an appropriate name to the file.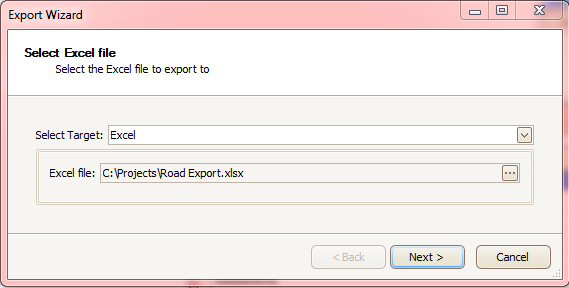
- Click Next
Step 4: Select Data Exchange Profile
- If you are exporting data for the first time select Create New Profile and click Next.
If you have an existing profile then click the Use Existing Profile option: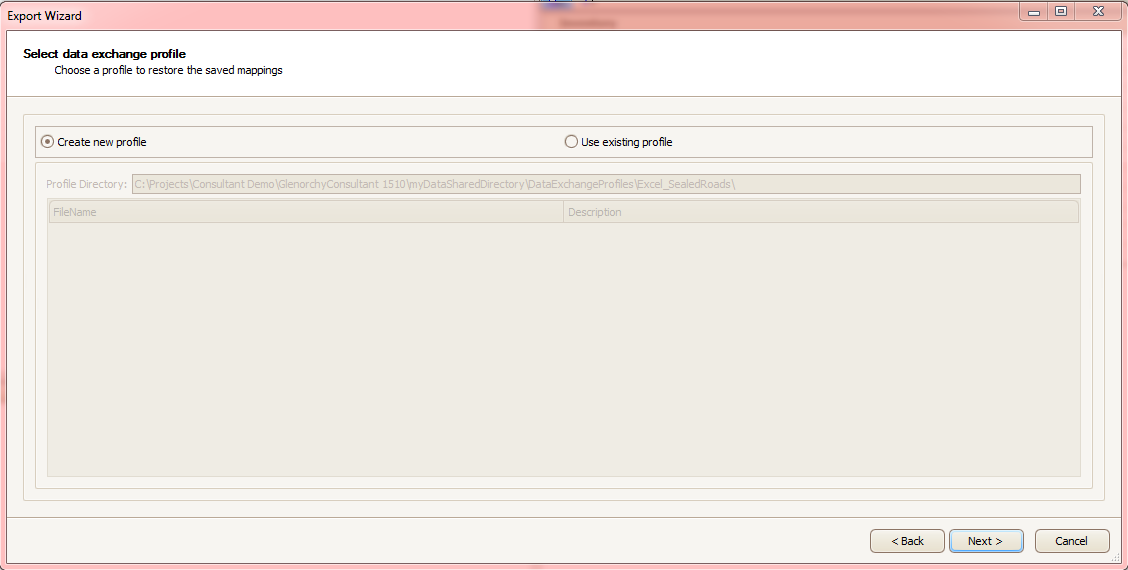
Step 5: Define Table Mappings
- Type the name of the worksheet where the data will be exported. In this example we are exporting data to the 'Roads' worksheet. If using an existing Excel file either use the same worksheet or create a new worksheet. If the same worksheet is selected then the data will be written-over by the new export.
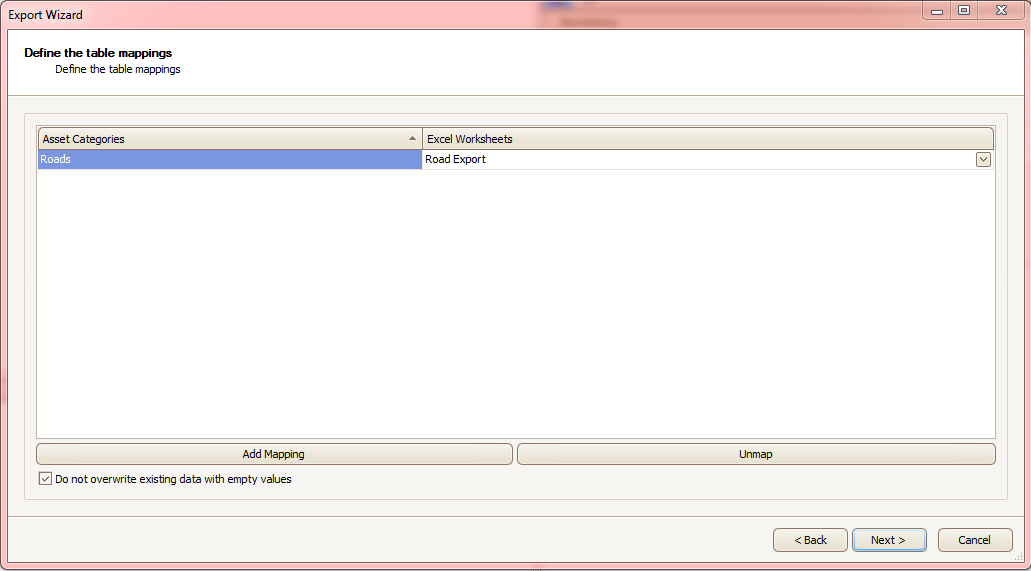
- Click Next
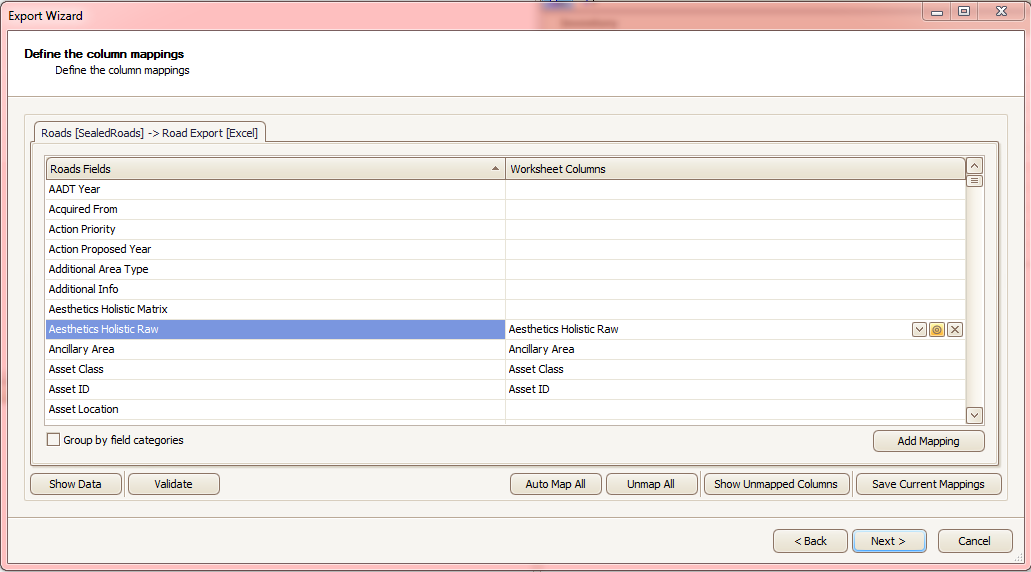
Step 6: Define Column Mappings
- If you want to export only part of the data, type the column name to which the data will be exported.
- Type in the text boxes down the right side (such as 'Exporting To') as shown below:
-
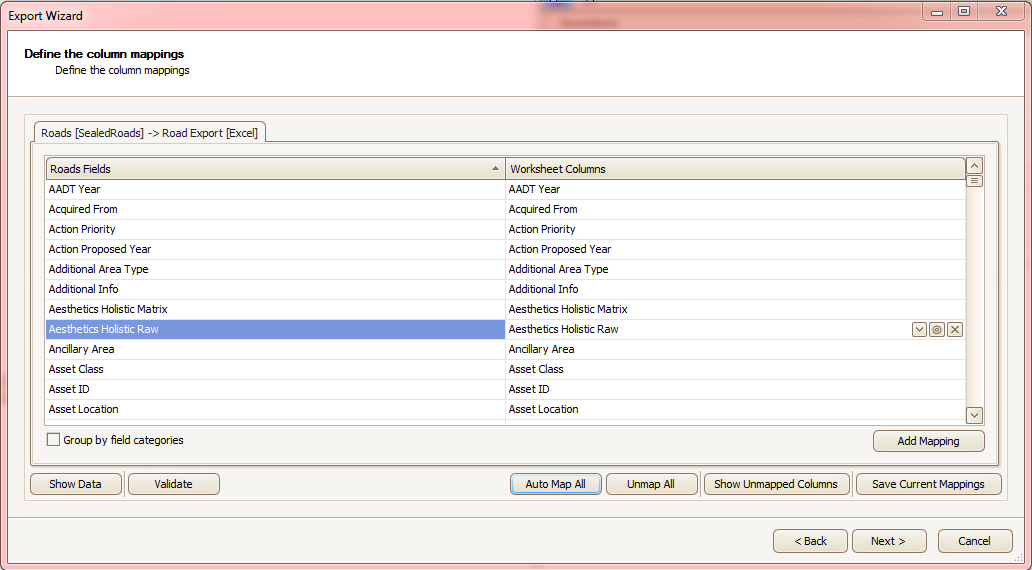
To export data from every myData field, click Auto Map All. By doing this, the system will export all the fields of myData into an Excel worksheet with same column headings.
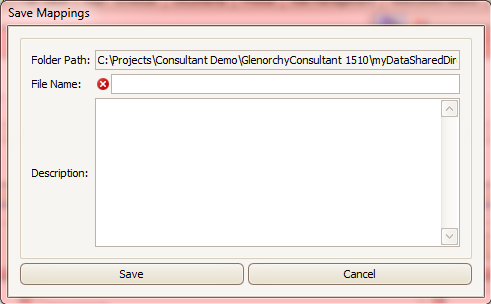
- To save the mappings, select Save Current Mappings in the Export Wizard Complete screen. The following screen will appear:

-
Fill in the Folder Path, File Name and a brief description and then click Save
-
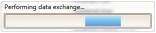
Click Next. The system will show the following message Performing Data Exchange. This might take a few minutes depending on the amount of data to export.
Step 7: Export Complete
The following screen will appear once the export is complete:
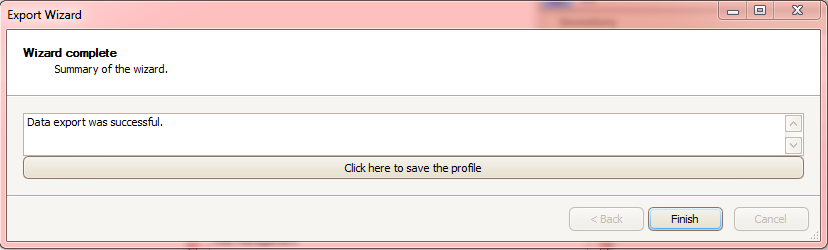
- Click Finish. Open the saved Excel file to view the data.
- To save the mappings (if not saved during the mapping process), select Click Here to save the Profile in the Export Wizard Complete screen. The following screen will appear:
- Fill in the Folder Path, File Name and a brief description and then click Save
